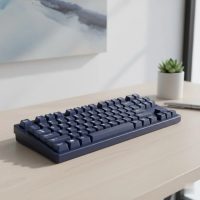
Have you ever looked at your standard, off-the-shelf keyboard and felt that something was missing? Maybe the typing feel is just okay, the sound is uninspired, or the look is bland. If you’re searching for the ultimate typing experience, one that is tailored perfectly to you, then you’re ready to dive into the world of the custom mechanical keyboard. It’s a journey into a hobby that combines technology, design, and a deep sense of personal satisfaction.
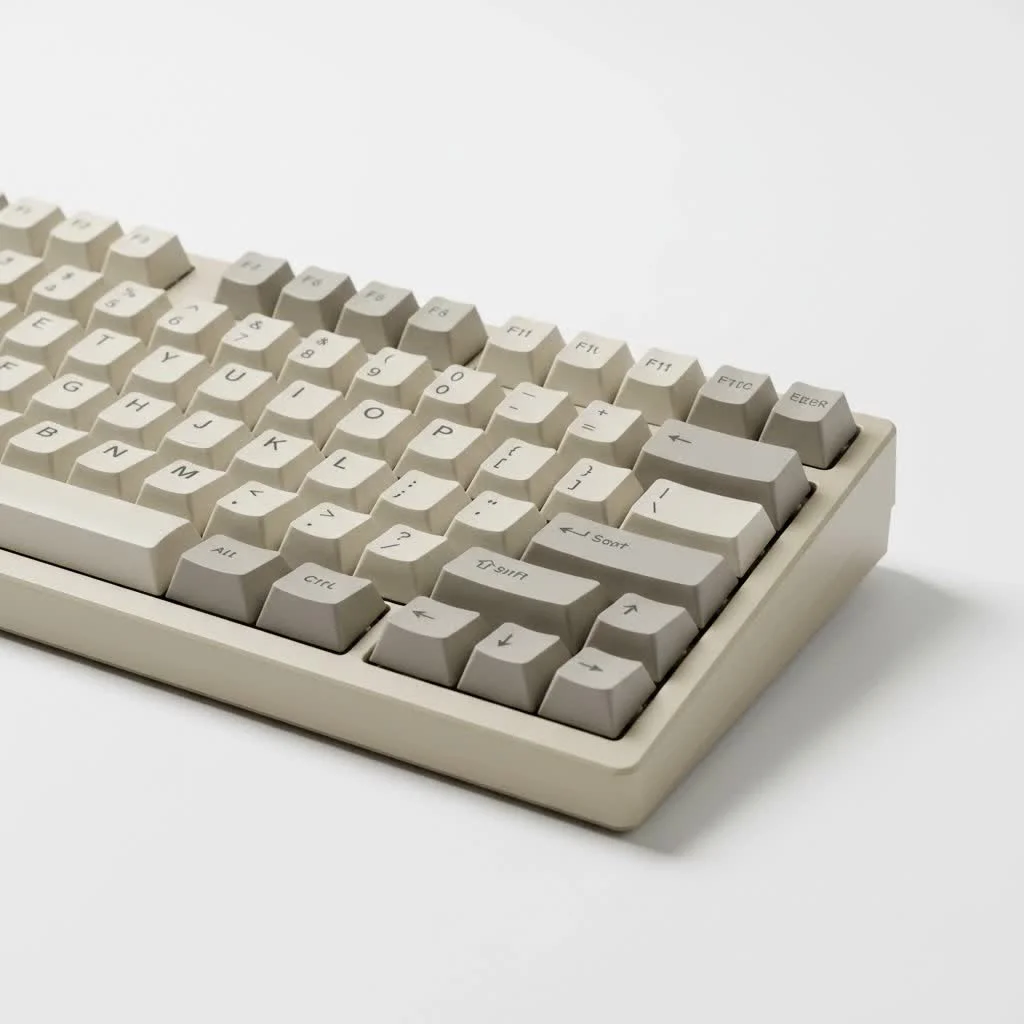
As an engineer who has spent over a decade building, modifying, and perfecting these devices, I can tell you that creating your own keyboard is more than just assembling parts. It’s about crafting a tool that is an extension of yourself. This guide is your first step on that path, a comprehensive walkthrough from understanding the basics to assembling a keyboard you can be proud of.
What Exactly is a Custom Mechanical Keyboard?
A custom mechanical keyboard is a keyboard that you build yourself from individual components. Unlike pre-built keyboards from major brands, every single part is chosen by you. This includes the case that houses everything, the circuit board (PCB) that registers your keystrokes, the switches that define the typing feel, and the keycaps that you see and touch. The result is a device that is 100% unique in its performance, sound, and appearance.
Why Build One? The Allure of a Personalized Board
The appeal of building a custom keyboard goes far beyond simple aesthetics. It’s about achieving a level of quality and personalization that mass-produced products can’t match.
- Unparalleled Typing Feel: You can choose switches that are clicky, tactile, or perfectly smooth and linear. You can even modify them to create a feel that is entirely your own.
- Tailored Acoustics: The sound of a keyboard, often called its “thock” or “clack,” is a huge part of the experience. The case material, mounting style, switches, and keycaps all play a role in the final sound profile.
- Limitless Aesthetics: From minimalist aluminum cases to vibrant polycarbonate ones, you have complete control over the look. Keycap sets come in thousands of colorways and designs, allowing you to create a true centerpiece for your desk.
- A Rewarding Hobby: The process of researching parts, assembling them, and troubleshooting is an incredibly engaging and rewarding hobby that teaches you about electronics, mechanics, and design.
Anatomy of a Custom Keyboard: The Core Components
Building a keyboard might seem daunting, but it boils down to understanding a handful of core components. Let’s break them down.
The Foundation: The Case
|
Our Picks for the Best Mechanical Keyboard in 2026
As an Amazon Associate I earn from qualifying purchases.
|
||
| Num | Product | Action |
|---|---|---|
| 1 | RK ROYAL KLUDGE S98 Mechanical Keyboard w/Smart Display & Knob, Top Mount 96% Wireless Mechanical Keyboard BT/2.4G/USB-C, Hot Swappable, Software Support, Creamy Sounding, 98 Keys |

|
| 2 | Womier S-K80 75% Keyboard with Color Multimedia Display Mechanical Gaming Keyboard Creamy Sound, Wired Hot Swappable Gasket Mount RGB Custom Key board, Pre-lubed Stabilizer for Mac/Win, Black Kanagawa |
|
| 3 | RK ROYAL KLUDGE R98 Pro Wired Mechanical Keyboard, 96% Creamy Gaming Keyboard RGB Backlit with Number Pad and Volume Knob, Gasket Mount, MDA Profile PBT Keycaps, Hot Swappable Pre-lubed Linear Switch |
|
| 4 | AULA F75 Pro Wireless Mechanical Keyboard,75% Hot Swappable Custom Keyboard with Knob,RGB Backlit,Pre-lubed Reaper Switches,Side Printed PBT Keycaps,2.4GHz/USB-C/BT5.0 Mechanical Gaming Keyboards |
|
| 5 | Logitech MX Mechanical Wireless Illuminated Performance Keyboard, Tactile Quiet Switches, Backlit Keys, Bluetooth, USB-C, macOS, Windows, Linux, iOS, Android, Metal, Graphite |
|
| 6 | AULA F99 Wireless Mechanical Keyboard,Tri-Mode BT5.0/2.4GHz/USB-C Hot Swappable Custom Keyboard,Pre-lubed Linear Switches,RGB Backlit Computer Gaming Keyboards for PC/Tablet/PS/Xbox |
|
| 7 | SteelSeries USB Apex 5 Hybrid Mechanical Gaming Keyboard – Per-Key RGB Illumination – Aircraft Grade Aluminum Alloy Frame – OLED Smart Display (Hybrid Blue Switch) |
|
| 8 | EPOMAKER x Aula F75 Gasket Mechanical Keyboard, 75% Wireless Hot Swappable Gaming Keyboard with Five-Layer Padding&Knob, Bluetooth/2.4GHz/USB-C, RGB (Light Blue, LEOBOG Reaper Switch) |
|
| 9 | Redragon Mechanical Gaming Keyboard Wired, 11 Programmable Backlit Modes, Hot-Swappable Red Switch, Anti-Ghosting, Double-Shot PBT Keycaps, Light Up Keyboard for PC Mac |
|
| 10 | AK96 Smart Mechanical Keyboard Gaming, 96 Keys Full Size with LED Colorful Backlit, Clicky Creamy Sounding, USB Wired Computer Keyboard with Volume Knob for PC, Mac, Windows(Grey) |
|
The case is the keyboard’s chassis. It determines the keyboard’s layout (like 60%, 75%, or TKL), its weight, its acoustics, and its overall look. Common materials include aluminum for a hefty, premium feel, and polycarbonate or acrylic for a softer typing experience and a unique sound signature.
The Brains: The PCB
The Printed Circuit Board (PCB) is the electronic heart of the keyboard. It’s the component that registers switch presses and sends the signal to your computer. The most important decision here is choosing between a hot-swappable or a solderable PCB.
- Hot-swappable: These PCBs have sockets that allow you to push switches in and pull them out without any soldering. This is the perfect choice for beginners as it offers flexibility to try different switches easily.
- Solderable: This option requires you to solder each switch to the PCB. It allows for more layout options but requires equipment and skill. For your first build, a hot-swap PCB is highly recommended.
The Skeleton: The Plate
The plate sits on top of the PCB and holds the switches firmly in place. It adds rigidity to the keyboard and has a significant impact on the typing feel and sound. Materials like aluminum and brass offer a stiffer feel and higher-pitched sound, while materials like polycarbonate (PC) and FR4 provide more flex and a deeper sound.
The Heart: Mechanical Switches
Switches are arguably the most important component for defining the typing experience. Each switch has a unique feel and sound. There are three main types:
- Linear: A smooth, consistent keystroke from top to bottom with no bump. Popular for gaming and fast typing. (e.g., Cherry MX Red, Gateron Yellow)
- Tactile: A noticeable “bump” in the middle of the keystroke that provides feedback when the key is activated. A great all-around choice. (e.g., Cherry MX Brown, Glorious Panda)
- Clicky: A tactile bump combined with a sharp, audible “click” sound. Very satisfying but can be loud. (e.g., Cherry MX Blue, Kailh BOX White)
The Soul: The Keycaps
Keycaps are the plastic caps you press. They are crucial for both aesthetics and feel. The two main factors to consider are the plastic material and the profile (shape).
- Material: The most common materials are ABS and PBT. ABS is smooth and can develop a shine over time, while PBT is more textured and resistant to shining, often feeling more premium.
- Profile: This refers to the shape and height of the keycaps across the rows. Cherry and OEM profiles are sculpted and very common. Uniform profiles like XDA or DSA have the same shape for every key.
As materials expert Dr. Evelyn Reed notes, “The choice between PBT and ABS plastic in keycaps is a classic debate between durability and vibrancy. PBT’s crystalline structure makes it incredibly resistant to wear and shine, whereas the amorphous nature of ABS allows for richer, more vivid colors in manufacturing.”
The Stabilizers: Taming the Larger Keys
Keys like the spacebar, enter, and shift need extra support to prevent them from wobbling. Stabilizers provide this support. Tuning your stabilizers (by clipping and lubing them) is one of the most important steps to achieving a premium, rattle-free sound.
Your First Build: A Step-by-Step Guide
Here is a simplified overview of the assembly process. Always refer to the manufacturer’s instructions for your specific components.
- Prepare Your Workspace: Lay out a clean, well-lit surface. A desk mat is a great way to protect your parts.
- Test the PCB: Before you assemble anything, plug the PCB into your computer and use a keyboard tester website. Use a pair of metal tweezers to touch the two metal contacts in each switch socket to ensure every key registers.
- Prepare and Install Stabilizers: Lube your stabilizers and install them onto the PCB. This is much easier to do before anything else is assembled.
- Assemble the Core: Snap the plate onto the PCB, making sure it aligns with the stabilizer cutouts.
- Install the Switches: If you have a hot-swap board, carefully push each switch into the plate and PCB. Ensure the small metal pins are straight before you push. You should hear a satisfying click as they seat.
- Mount into the Case: Carefully place the assembled PCB/plate combination into the keyboard case and secure it with the provided screws.
- Add Keycaps: The final, and most satisfying, step. Gently press your keycaps onto the switch stems.
Frequently Asked Questions (FAQ)
How much does a custom mechanical keyboard cost?
A budget-friendly custom mechanical keyboard can start around $100-$150 for all the components. The price can easily climb to $500 or much more for premium cases, rare keycaps, and boutique switches. The beauty is that you control the budget.
Is building a keyboard difficult for a beginner?
Not at all, especially with a hot-swappable PCB. The process is very much like building with LEGO bricks. It requires patience and attention to detail, but no special skills are needed for a basic build.
What does “hot-swappable” mean?
Hot-swappable means you can change the mechanical switches on your keyboard simply by pulling the old ones out and pushing new ones in, without any soldering. It’s the most beginner-friendly option.
Do I need to solder to build a keyboard?
No. While soldering is a part of the hobby for those who want maximum layout flexibility, the wide availability of high-quality hot-swap PCBs means it is entirely optional for building a fantastic custom keyboard.
Is lubing switches really worth the effort?
Absolutely. Lubing your switches (applying a thin layer of special lubricant to the internal components) makes them smoother and dramatically improves their sound. While it can be time-consuming, it is the single biggest upgrade you can make to the feel of your keyboard.
Your Journey Begins Now
Building a custom mechanical keyboard is more than a project; it’s an introduction to a vibrant community and a deeper appreciation for the tools we use every day. You’ll learn, you’ll tinker, and you’ll end up with a keyboard that is truly yours in every sense of the word. The perfect typing experience isn’t something you buy—it’s something you build. So gather your parts, clear your desk, and get ready to create something amazing.
Get our weekly buyer guide
Practical specs, not advice. Unsubscribe anytime.